Beautiful Racket / tutorials
Finishing moves: jsonic
This part of the tutorial requires some basic knowledge of using a Git repo to store source code. If you’re unfamiliar with Git, it’s a version-control system for software. It’s not hard to use, but it’s not part of this book. Check out the online book Pro Git. If you don’t want to deal with Git now, you can move on to the next language tutorial.
This part of the tutorial also involves using Racket’s official package server. After you’re done with this tutorial, please delete your work so that the package server stays tidy for everyone. Instructions below. Thank you!
During the setup for these tutorial projects, we had to install the beautiful-racket package from the command line like so:
This was our first use of the Racket package server. The package server lives at pkgs.racket-lang.org. The server is a shared Racket resource with three roles:
-
It makes finding, installing, and updating packages easier for users.
-
It makes distributing packages—including languages—easier for developers.
-
It rebuilds and retests all Racket packages when they change to make sure they still work as expected (and posts a message when they don’t).
If we pass a local directory path to raco pkg install, it will install the modules in that directory as a package. But if we pass it a package name (like beautiful-racket) then raco pkg install will contact the online package server to discover the location of the source repo for that package (often on GitHub). Once it finds the repo, it downloads the source from that location and installs it.
Behind the scenes, the package server handles other housekeeping as well, in cooperation with the local raco tools. For instance, the package server monitors the source repos of each package for changes (e.g., new commits) and associates a checksum with each update. That way, if we later do this:
raco pkg will cooperate with the package server to figure out whether we have the most recent version of beautiful-racket (in which case it will do nothing) or if there’s a more recent version (in which case it will download and install it).
The package server is also used by raco pkg to resolve missing dependencies. For instance, recall our list of jsonic dependencies:
"beautiful-racket-lib"
"brag"
"draw-lib"
"gui-lib"
"parser-tools-lib"
"rackunit-lib"
"syntax-color-lib"))
(define build-deps '("scribble-lib"))
1 2 3 4 5 6 7 8 9 | (define deps '("base"
"beautiful-racket-lib"
"brag"
"draw-lib"
"gui-lib"
"parser-tools-lib"
"rackunit-lib"
"syntax-color-lib"))
(define build-deps '("scribble-lib"))
|
Suppose a user tries to install jsonic and doesn’t have any of these packages installed. In that case, raco pkg uses the package server to get the source for each package and install it, as if the user had done this manually:
raco pkg install beautiful-racket-lib
raco pkg install brag
···
1 2 3 4 | > raco pkg install base > raco pkg install beautiful-racket-lib > raco pkg install brag ··· |
-
Packages listed on the package server are rebuilt by Racket’s build server when they change. The build server installs each package on top of the current release version of Racket. The results of the most recent build are posted next to the package name at pkgs.racket-lang.org. (For instance, here’s the latest build report for beautiful-racket.) + Many Racket developers also use build services like Travis CI. The advantage of Travis CI is that it’s more configurable, and can build against past and future releases of Racket. Whereas the package server only builds against the current release.
-
The package server also runs all the tests in each package, using the raco test -p pkg-name command we tried before, and reports whether any tests are broken.
-
The documentation for every package is built and uploaded to docs.racket-lang.org. This serves as a test for the documentation. But for users, it also makes the documentation for every package available without having to install the package themselves.
We’re going to make our jsonic language available through the package server (though not permanently).
To get started with the package server, we first need to do two things:
-
Set up an account on the package server. Go to pkgs.racket-lang.org and click the Register button in the upper-right corner. Enter an email address, and click Email me a code. Once you get the code, return to the registration page and enter it in the form along with your email address and password.
-
Put our jsonic code in a public Git repo, for instance on GitHub (though any public Git hosting service is fine). This is necessary because the package server doesn’t host source repos—it simply acts as an intermediary between Racket and source repos elsewhere.
First we’ll log in to pkgs.racket-lang.org with our email and password.
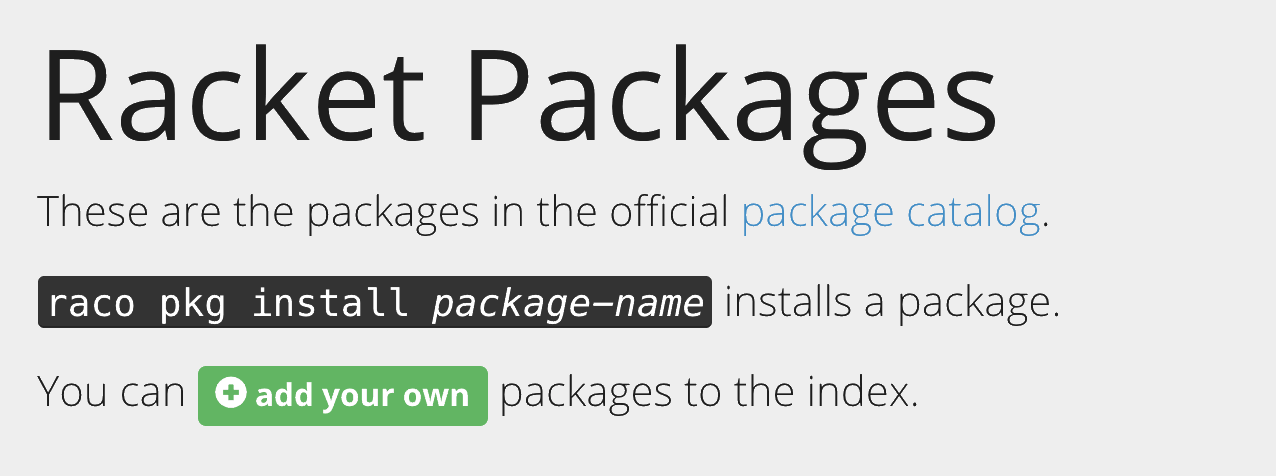
Then we’ll click the green Add your own button in the grey box at the top of the page:
This will show us a form:
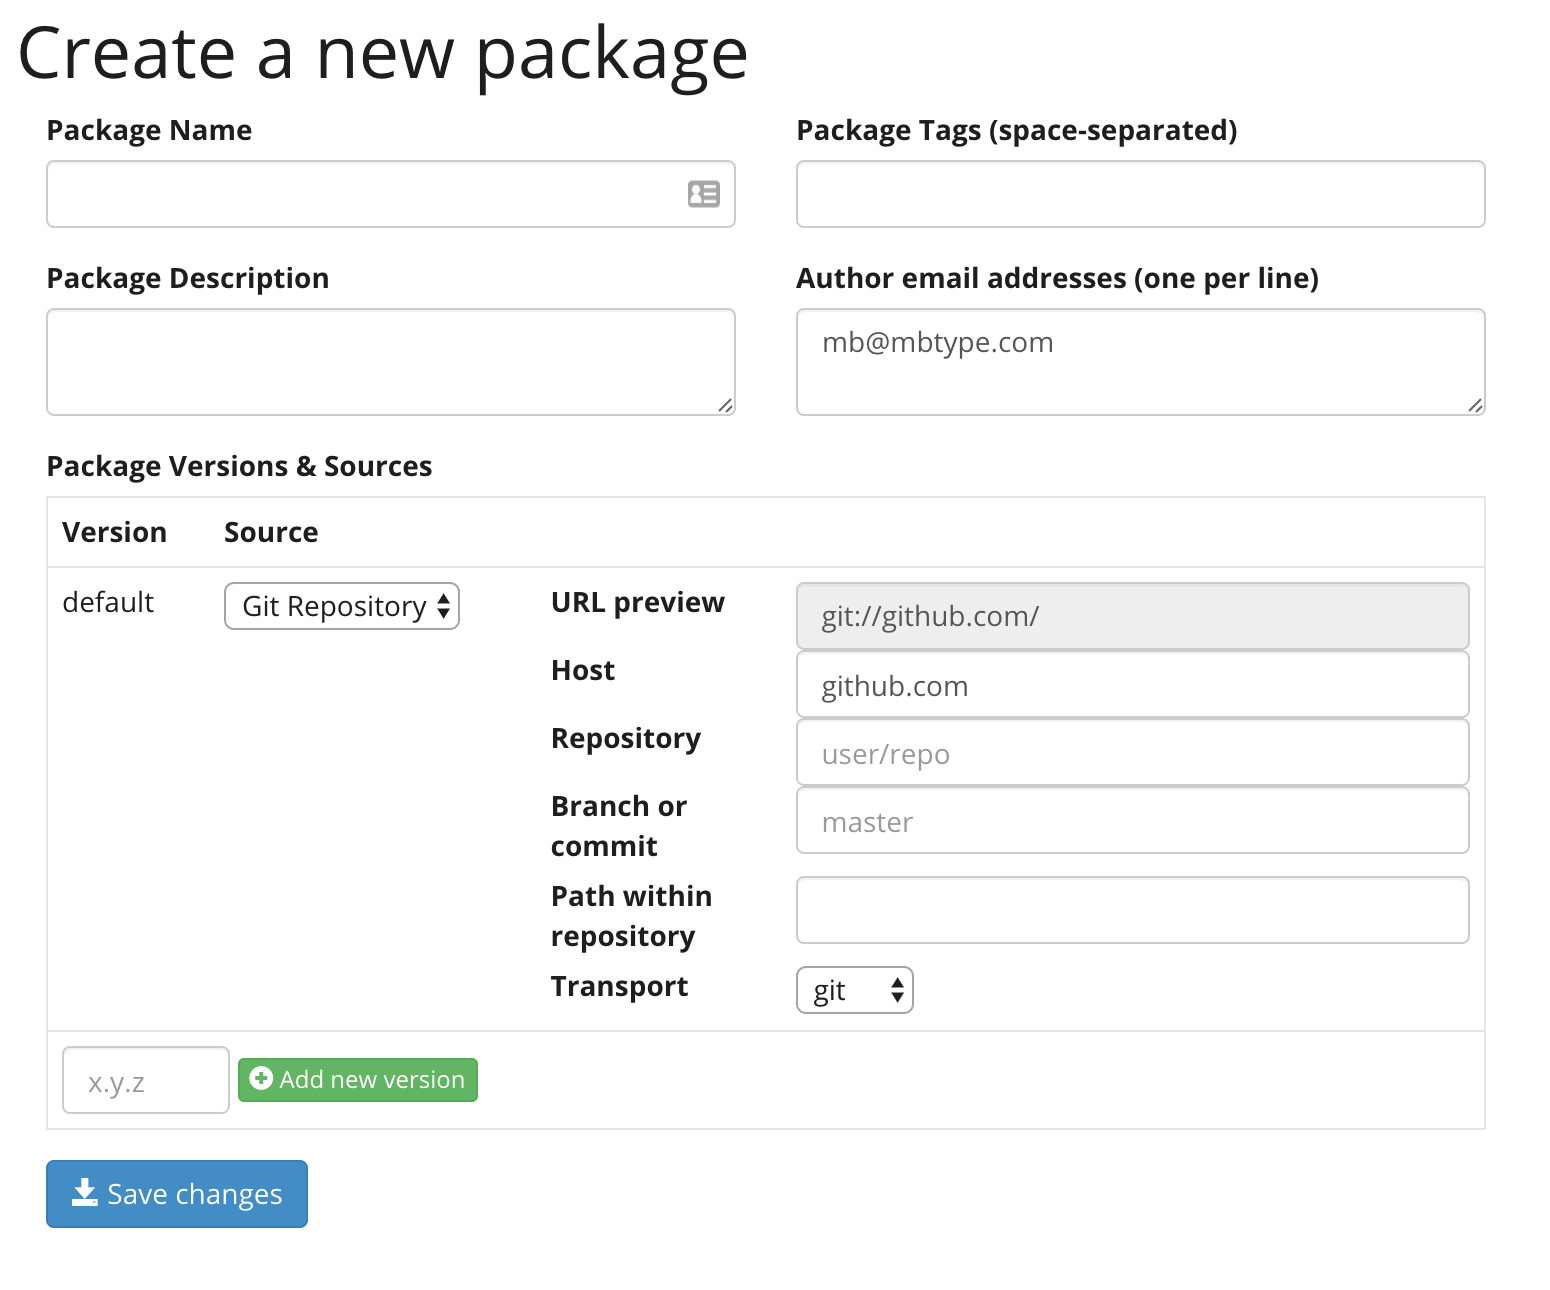
We need to edit three fields: the package name, the package description, and the repository.
The package name is at the top. This will be the name used by those installing the package with raco pkg install. + Or by other developers, if they list our language as a dependency in their own packages. The package name does not need to be the same as our source repo. Nor does it need to be the same as the collection name, which we explicitly set in the "info.rkt" file as jsonic.
Because others may be trying this tutorial, let’s make our package name jsonic-xyz, where xyz is our initials or other distinct identifier—that way, we won’t collide with someone else’s test package. Click the field underneath Package Name and enter the name:
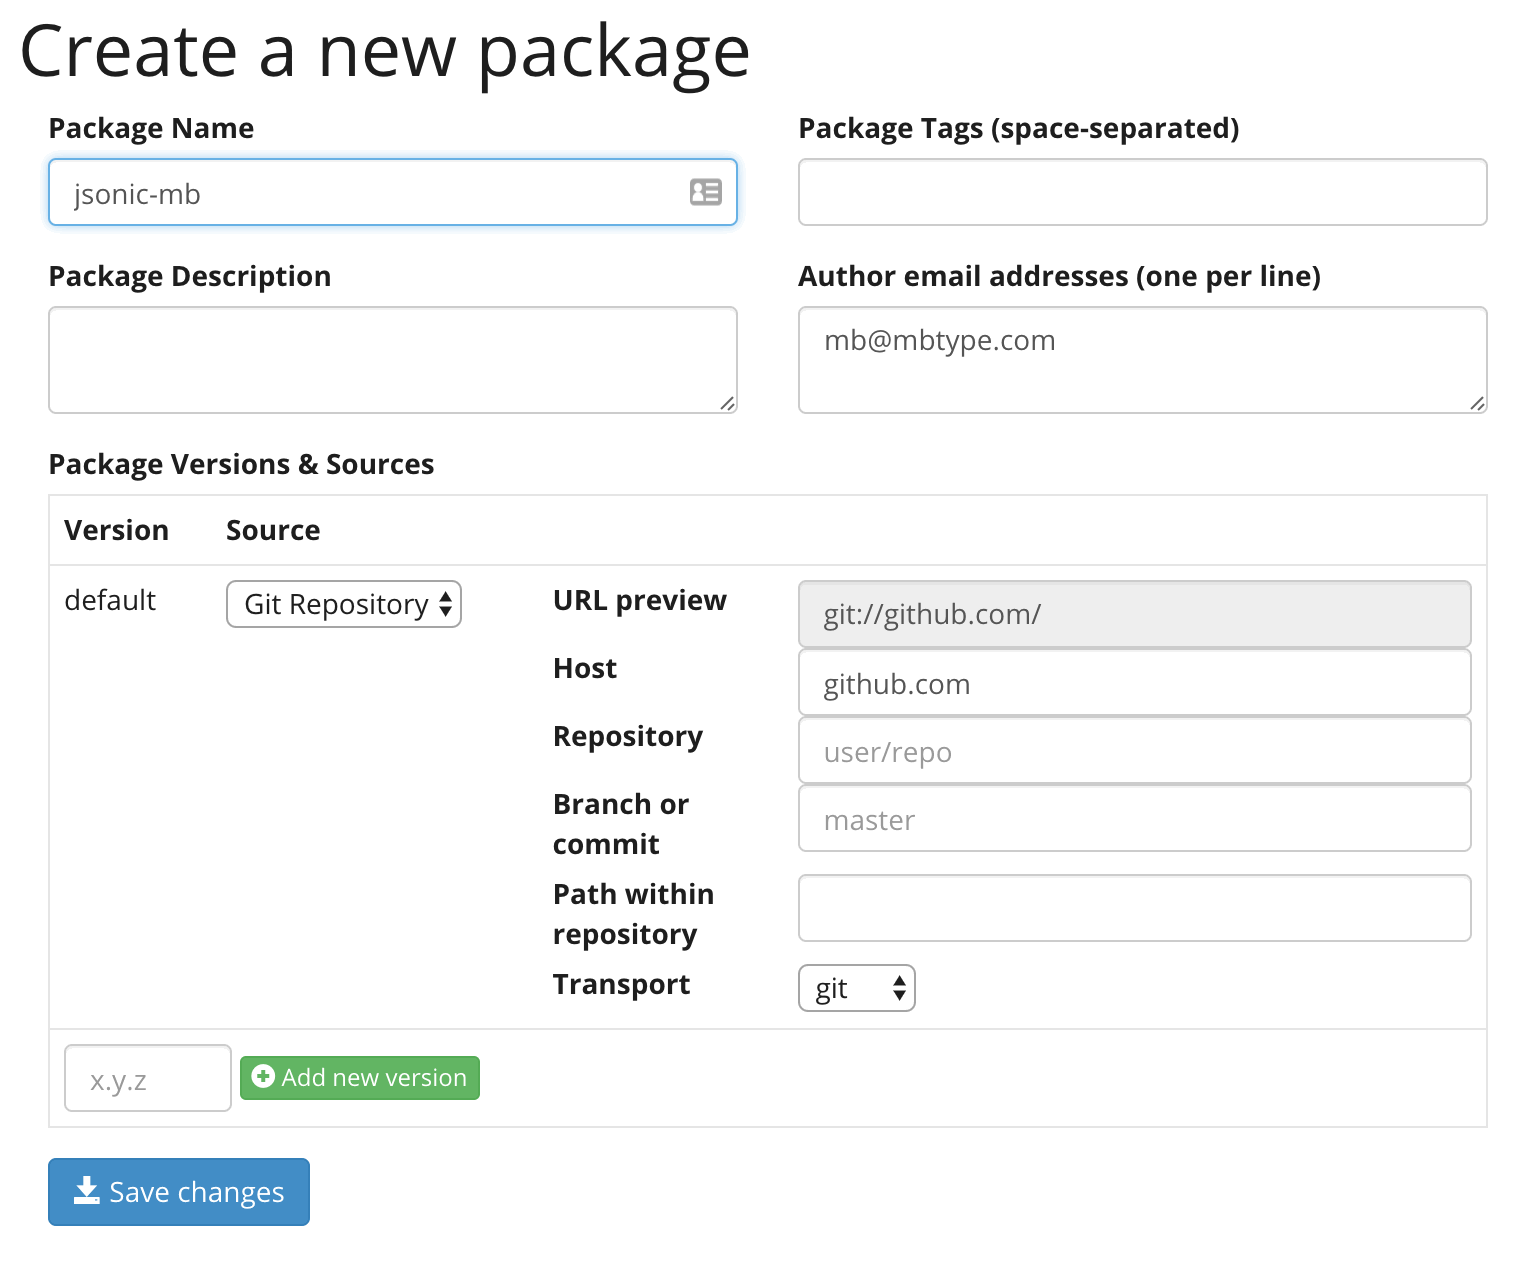
Then we move to the Package Description field and optionally enter a short description, which will appear on the main package listing:
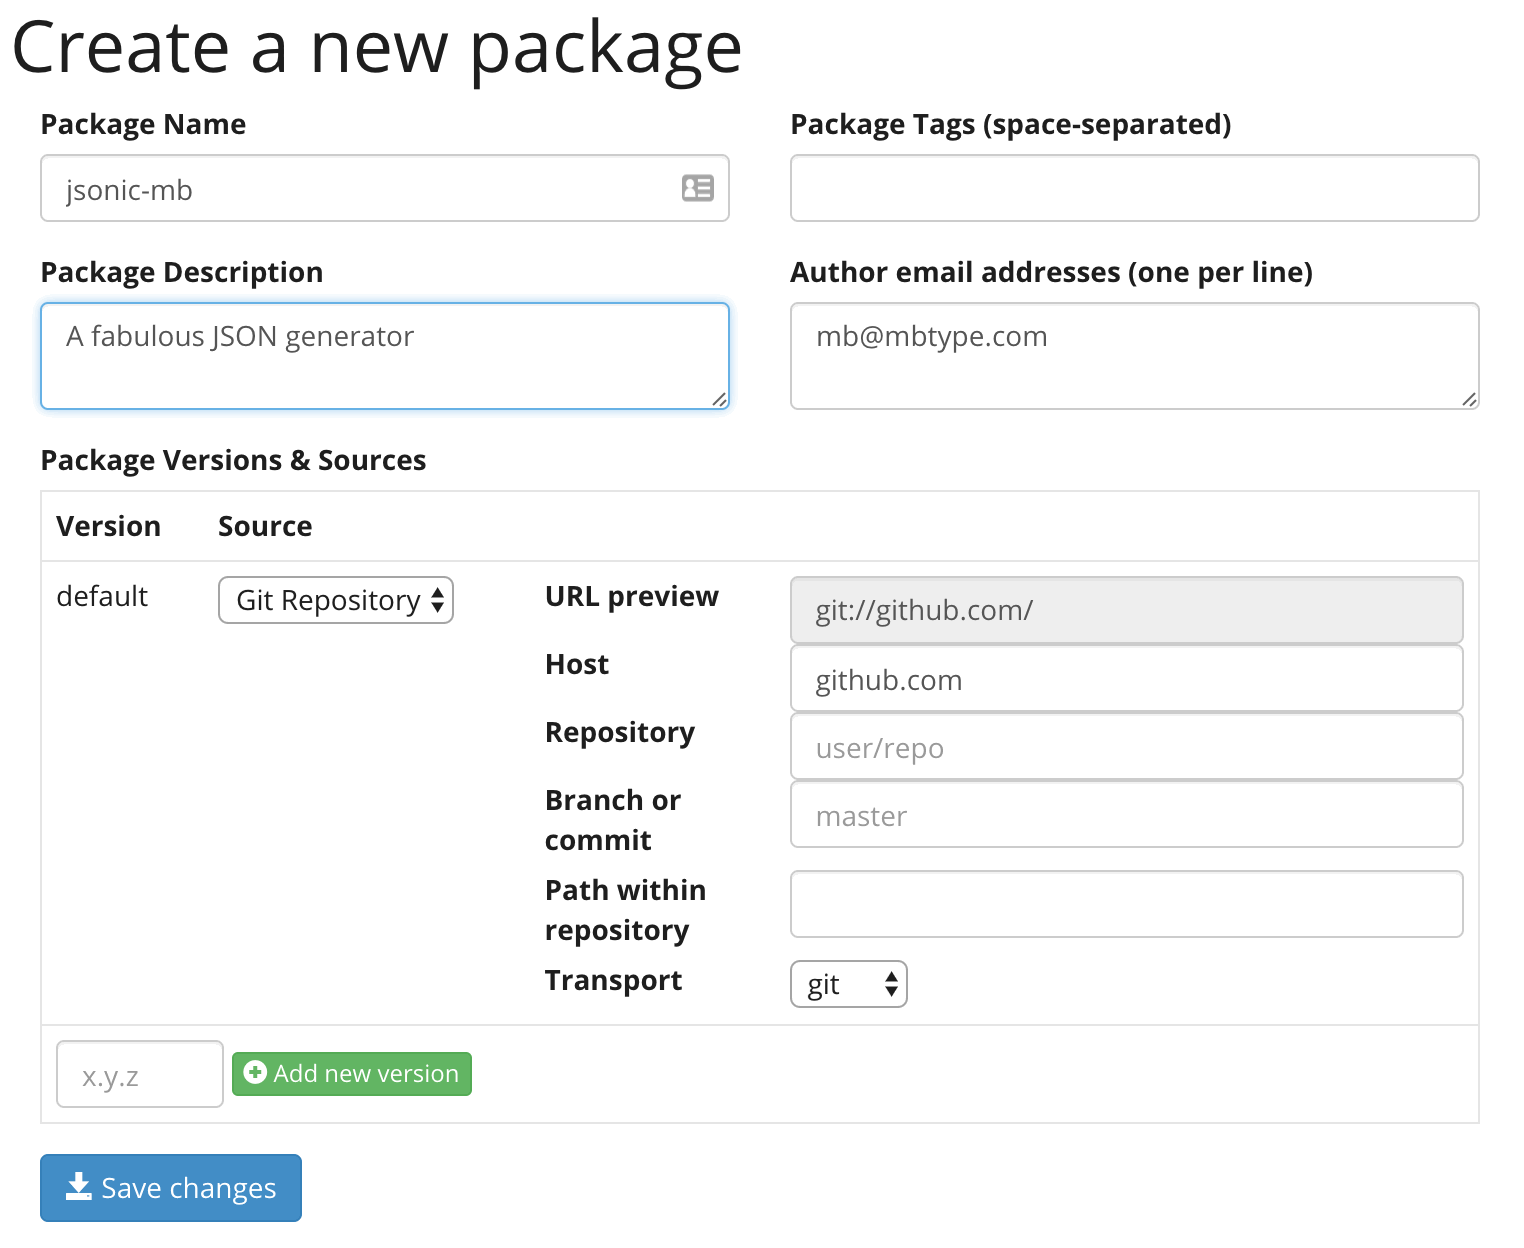
Then we move to the Repository field and enter our Git repo, which will be something like username/jsonic:
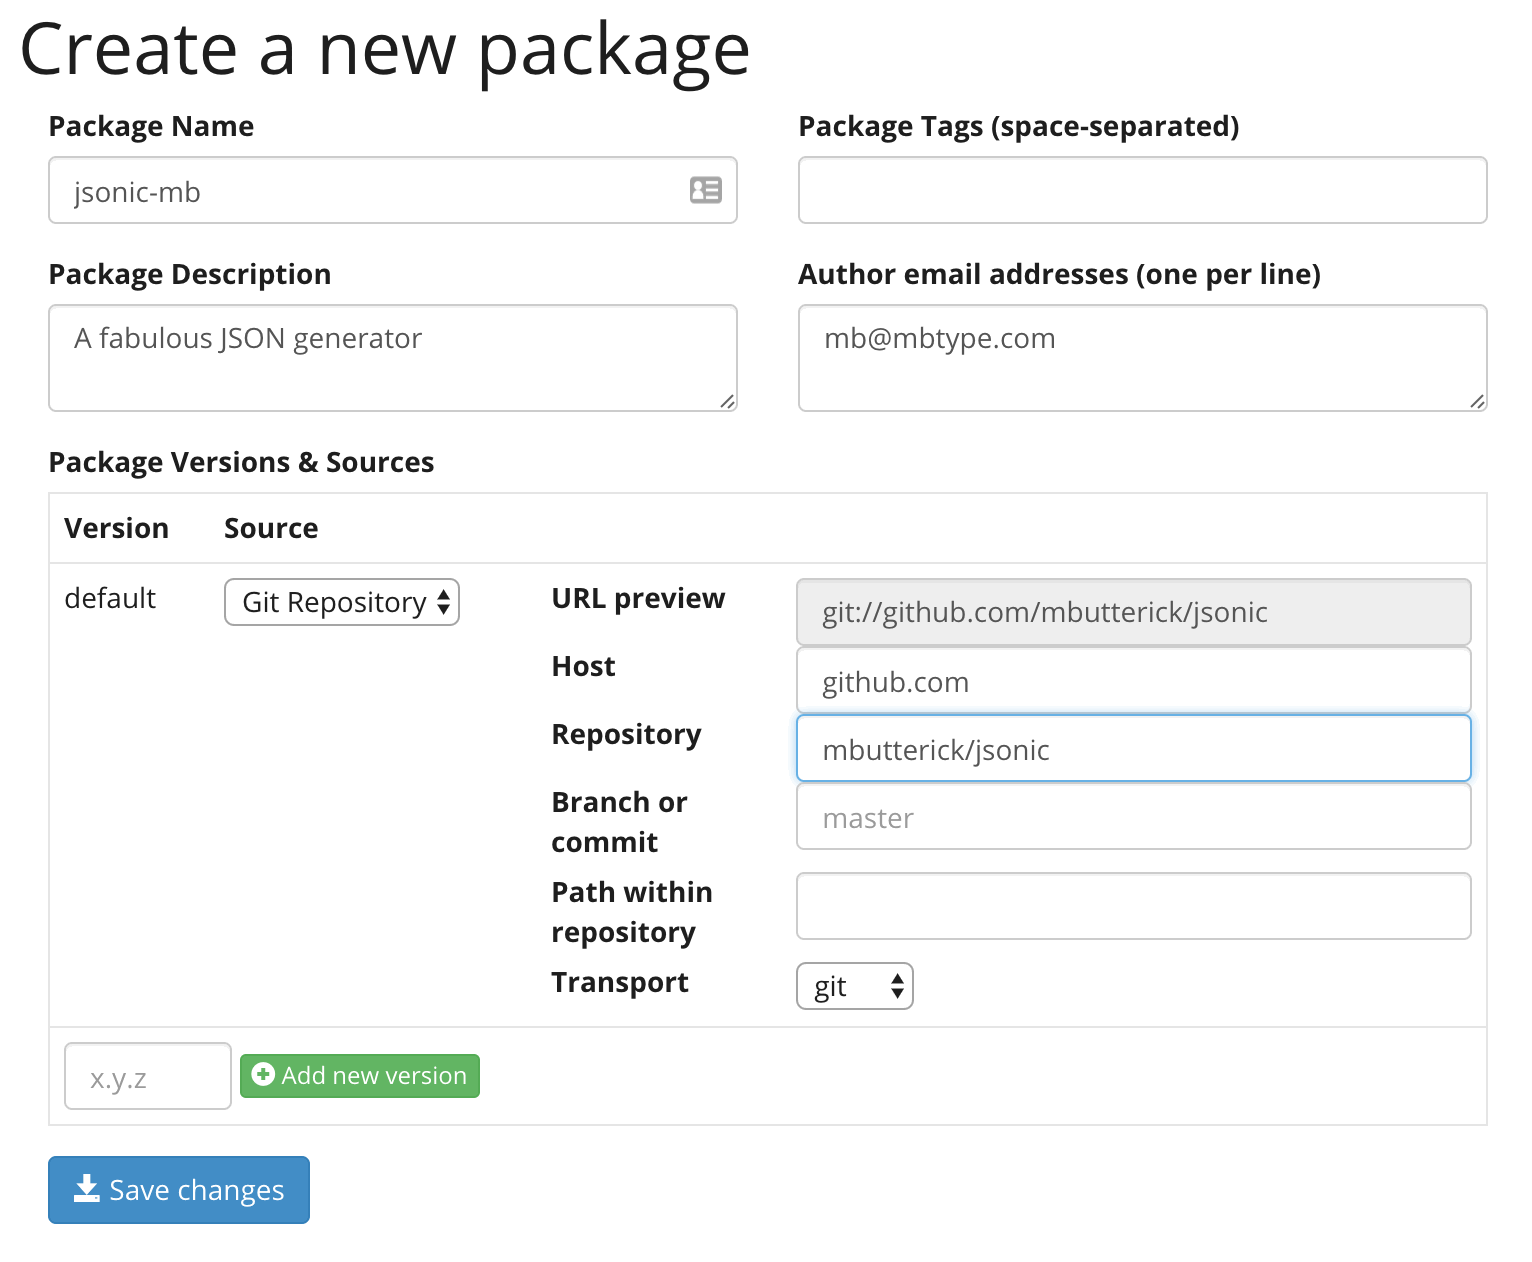
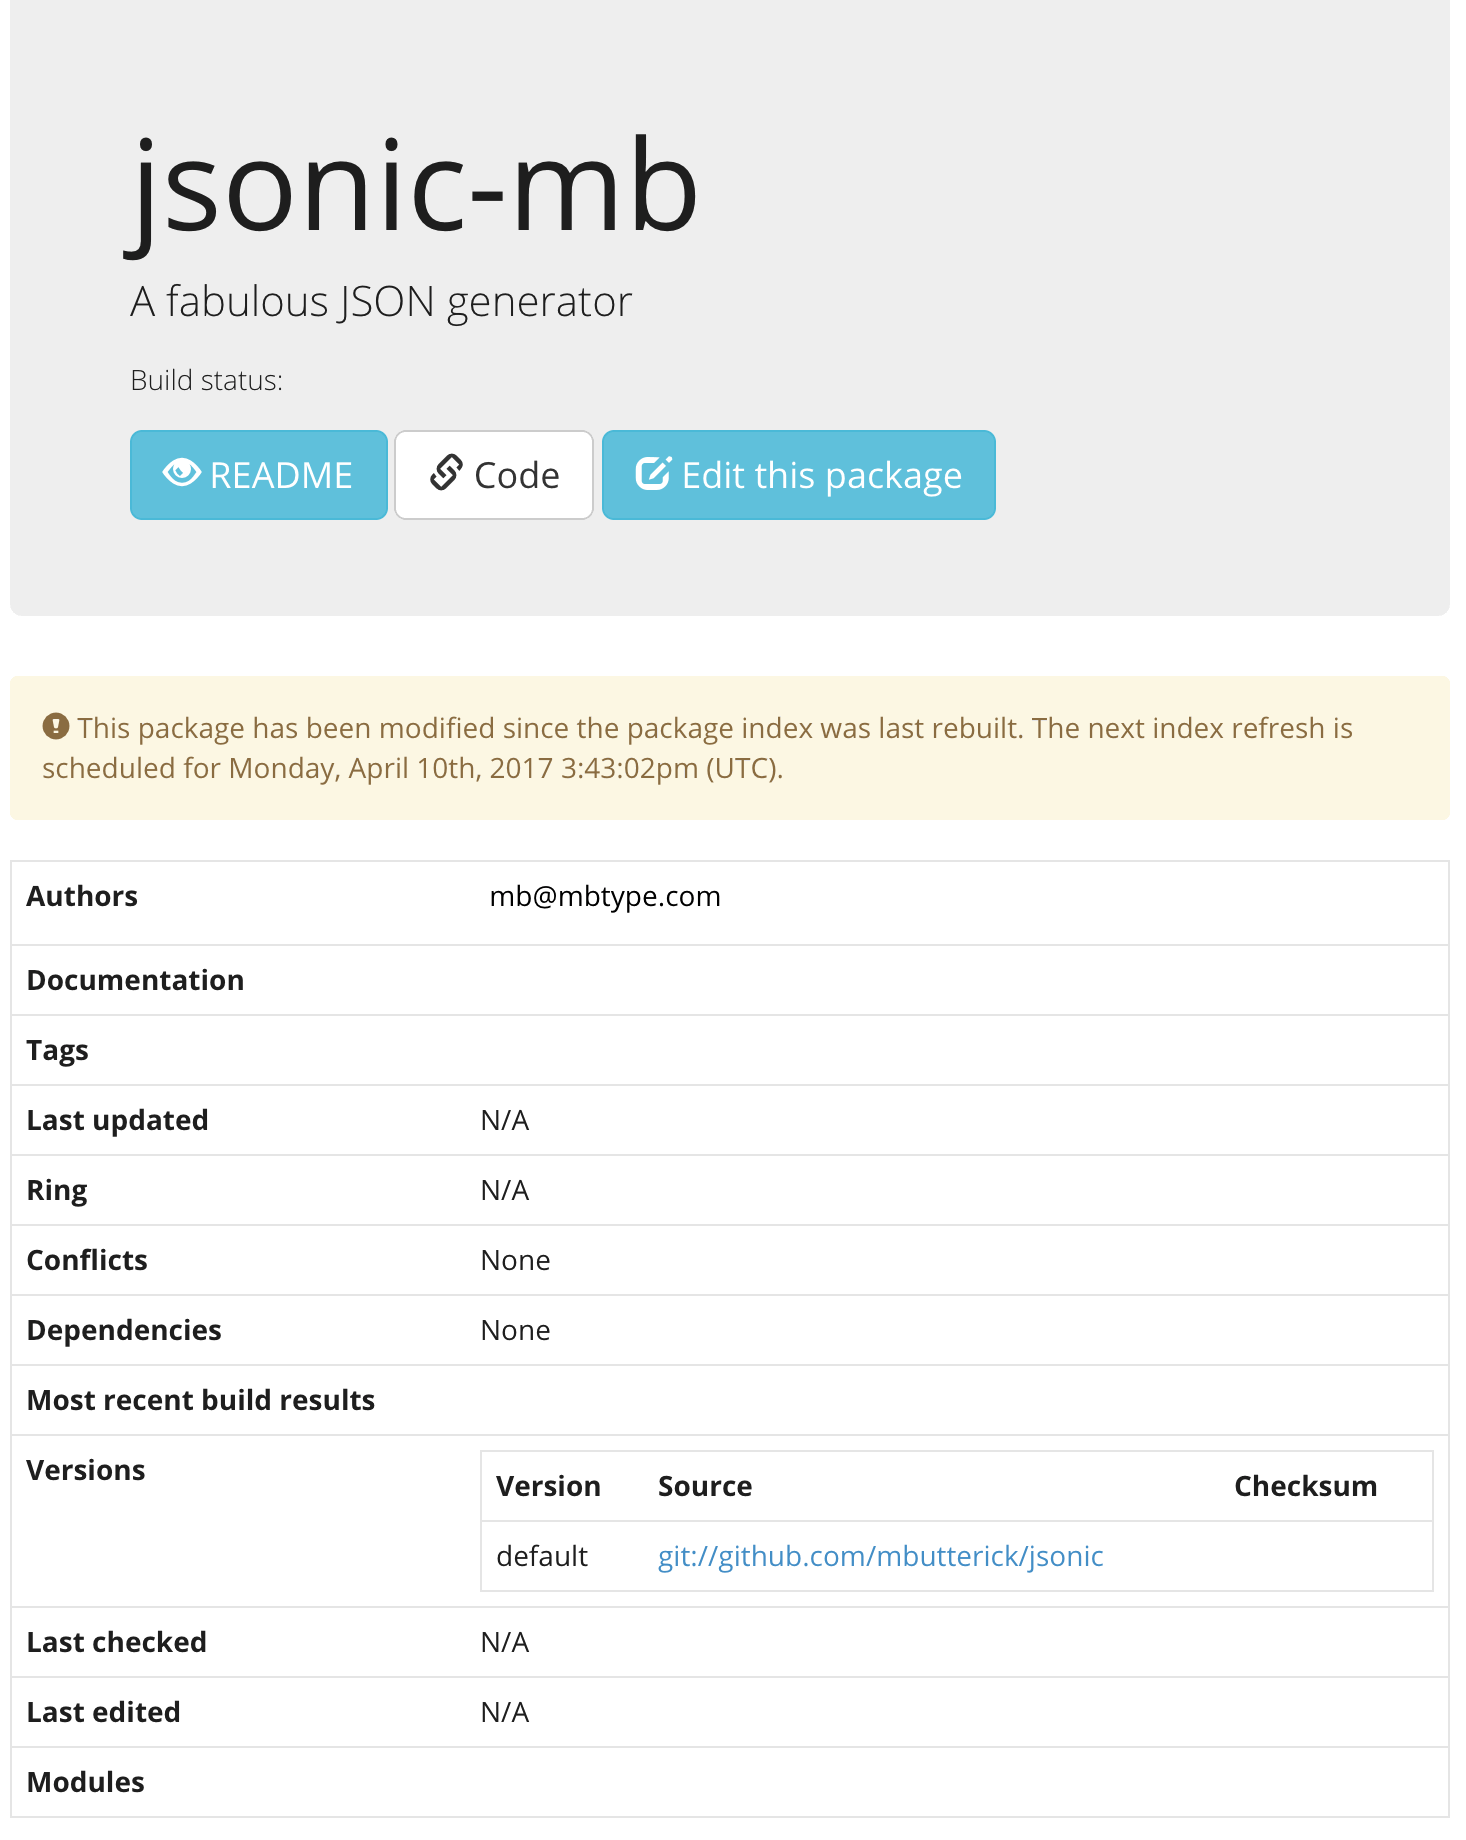
We click the blue Save changes button. As confirmation, the package server shows us the new entry for jsonic-xyz:
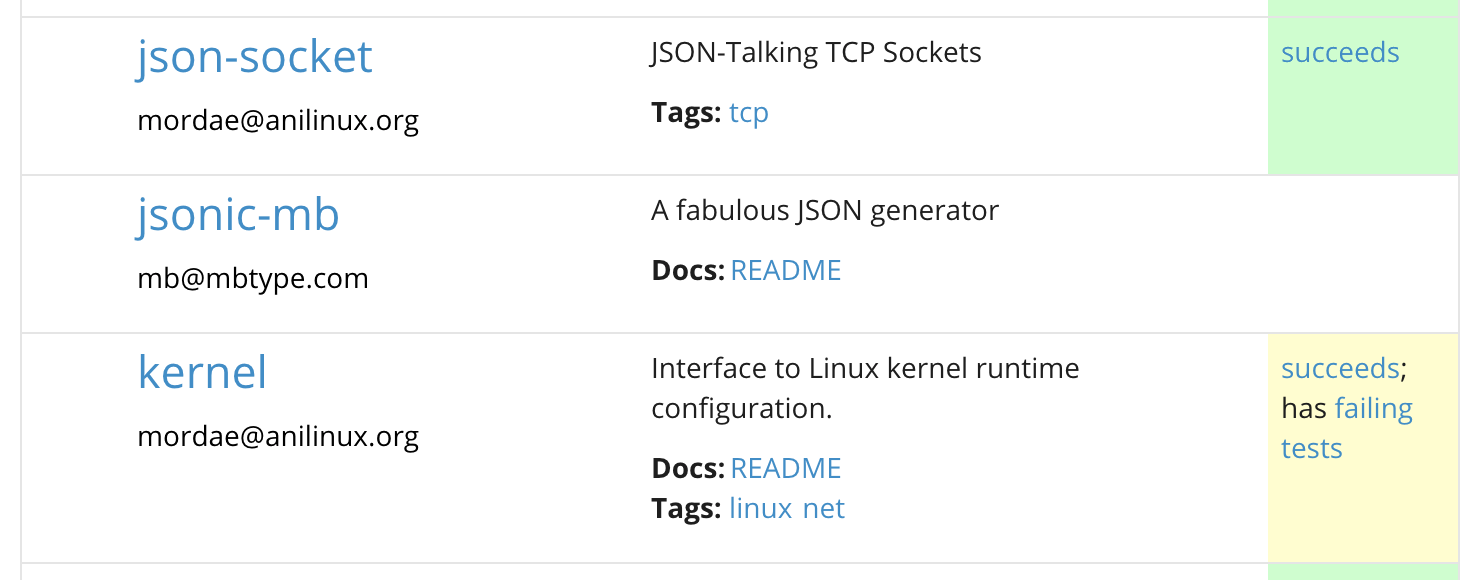
And if we go back to the top page of pkgs.racket-lang.org, we’ll see our new package listed among the others:
That’s all we need. Now our package will be available to anyone who wants to use it.
First, let’s remove our locally installed jsonic prototype, so it doesn’t conflict with the one we’re about to install:
1 | > raco pkg remove jsonic |
Now let’s reinstall jsonic from the package server. From the command line, we install our package using its new name:
1 | > raco pkg install jsonic-xyz |
This time, raco pkg install will consult the package server to get the location of the jsonic-xyz source. It will download and install it. After that, we should be able to look up jsonic in the documentation, or use #lang jsonic, just as we could before.
If we ever want to move or rename the source repo, however, we’ll have to return to the package server interface to update the Source location for our package.
We’d stop here. Once our package is on the package server, there’s no ongoing maintenance. Within a day or so, the documentation would appear at docs.racket-lang.org/jsonic-xyz.
Over time, we can update the package simply by pushing new commits to our jsonic repo. We don’t have to notify the package server—it will automatically detect the change and pass it along to any users who invoke raco pkg update.
Once we’re satisfied that we’ve got the hang of the package server, let’s erase our tracks. First, from the command line, let’s remove our local installation of the package we installed from the package server:
1 | > raco pkg remove jsonic-xyz |
Then we log in again to pkgs.racket-lang.org and click on the entry for jsonic-xyz.
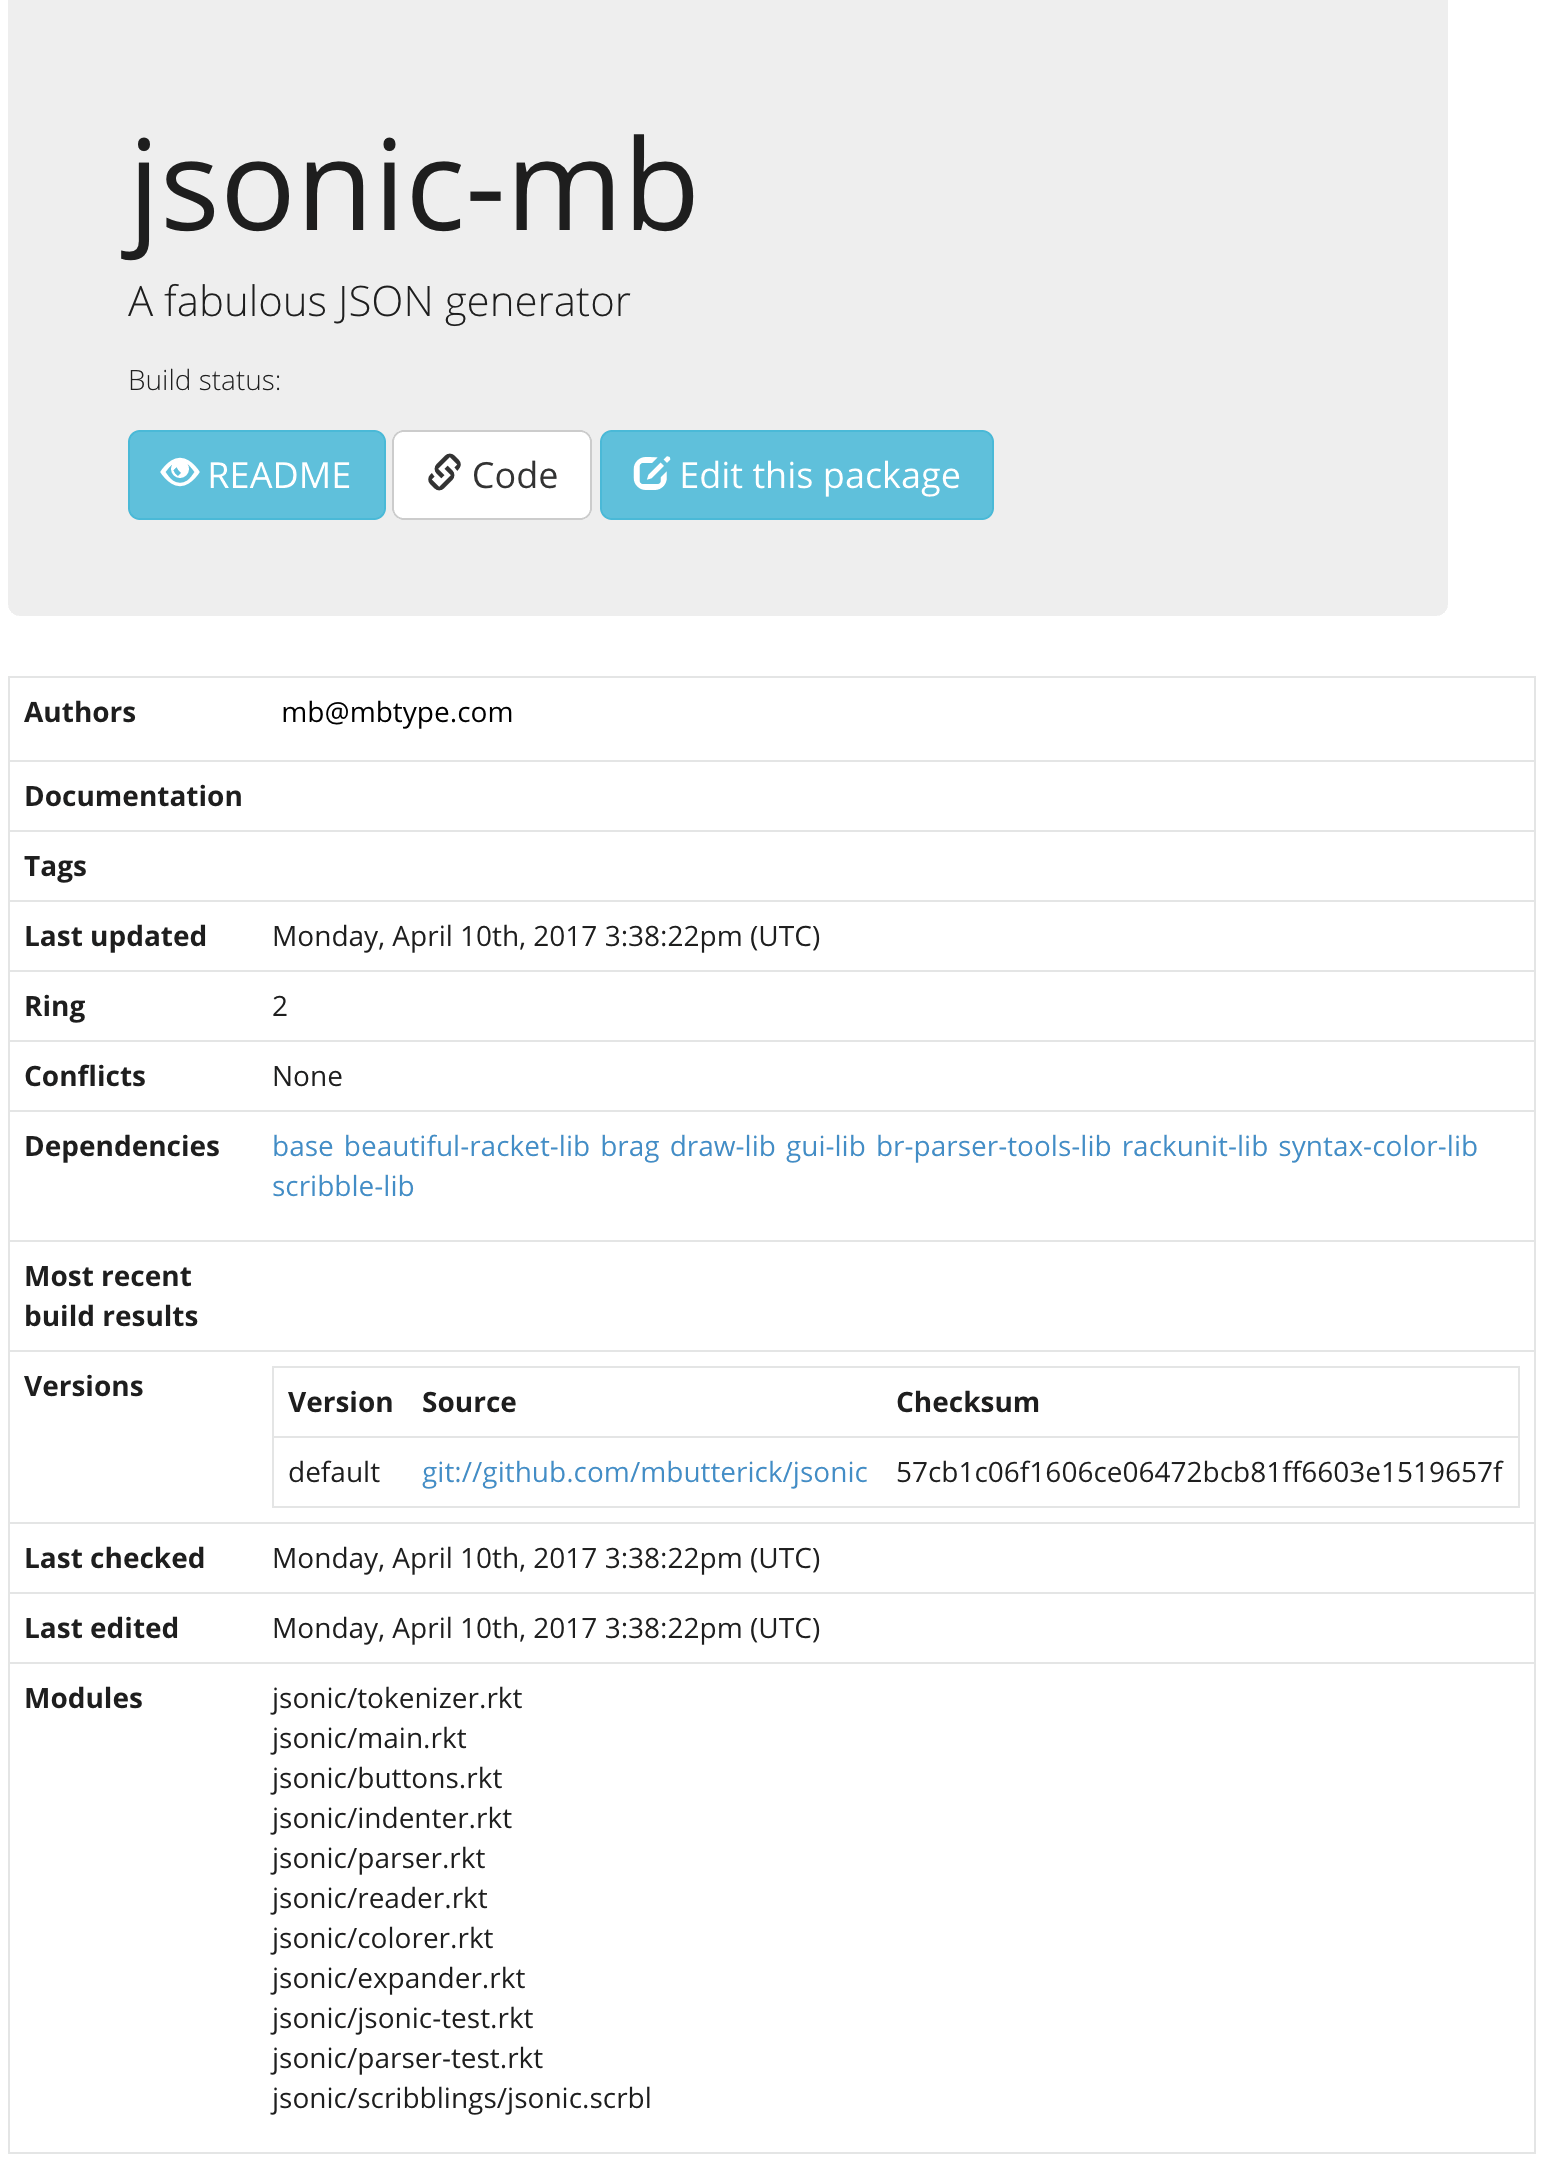
Before we delete jsonic-xyz, let’s notice that while we were gone, the package server peeked into our Git repo and made a list of dependencies and modules. This is part of how the package server helps manage updates of installed packages.
We’ll click the blue Edit this package button at the top of the screen to get back to the package-editing page:
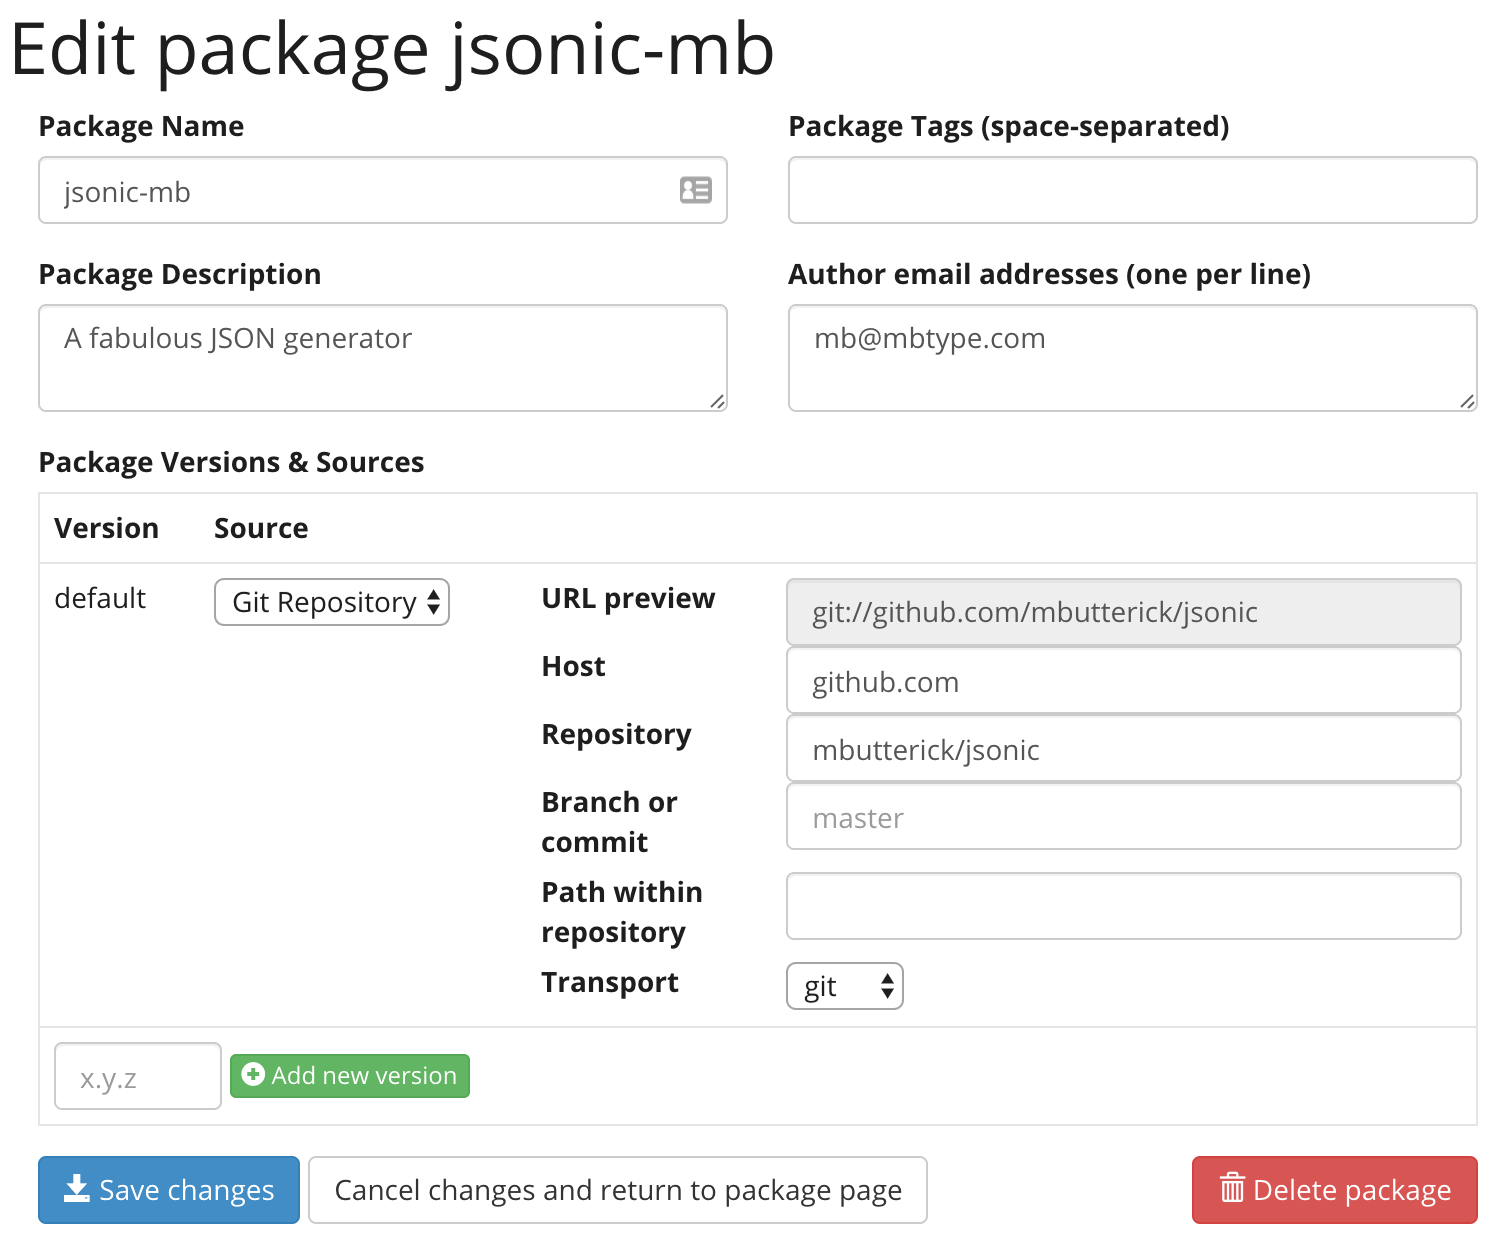
Finally, we click the red Delete package button at the bottom, and confirm the deletion. This permanently scrubs jsonic-xyz from the package server.
We won’t be using the package server for the remaining tutorials. The process of turning a language into a package, and uploading it to the package server, is essentially the same for any language.
For those who want an alternative to a Git-hosted repo, it’s also possible to deploy a package without using Racket’s package server.
Once you’re done with this part of the tutorial, please delete your work from the package server so that it stays tidy for everyone. Instructions above. Thank you!